Project Aria Mobile Companion App
Overview
The Project Aria Mobile Companion App, provides the ability to interact & record with your Aria glasses via Bluetooth. This section covers:
- Getting Started (Update Your Glasses)
- Recording
- Mobile Companion App Screens
These instructions are only useful if you have access to Aria glasses. Go to projectaria.com to find out how to become a research partner and gain access to the Aria Research Kit (ARK).
Mobile Companion App features include:
- Fully wireless
- Check your glasses status (temperature, GPS, privacy switch etc..)
- Handle and select between multiple paired Aria glasses
- Update Aria glasses to the latest OS build
- Select a recording profile and start recording directly from the mobile app
- Set default recording profile
- Create a custom recording profile
- Data quality signals while recording
- In-session Eye Gaze Calibration
- Accept, store and delete security certificates to enable the Client SDK and CLI
Getting Started (Update Your Glasses)
Download and Install
Follow the instructions in the ARK SW Downloads and Updates page to download and install the app (this is where you'll download updates as well).
Sign in and pair
- Plug your Project Aria glasses into their charger
- This will automatically turn your glasses
- Make sure the Privacy Switch is not engaged
- The Privacy Switch should be pushed forwards, towards the lenses
- Open the Companion app for the first time and log in with your email address (or, if you have a test account created before 4/10/2025, with your alias + @tfbnw.net)


- When launching the Companion App for the first time, you'll need to grant it certain permissions to work correctly, such as location services.
- Follow the prompts to agree to Project Aria Research Community Guidelines and read the Health and Safety information
- Select Get Started to begin setting up your glasses.
- The app will begin to look for nearby Project Aria glasses. When your glasses are discovered, they will be listed at the top of the screen alongside its serial number.
- After selecting your glasses, the Companion App will begin pairing with it.
- Once pairing completes, the app will ask to name your Aria glasses.
- Join a Wi-Fi network, your glasses must be plugged into a charger to complete the setup process.
- Once connected to Wi-Fi, the glasses will look for updates and update your glasses' OS
- Once you have completed setup, you’ll see the Mobile Companion App Dashboard page
Go to Pair Additional Devices and Pairing Troubleshooting for more information about pairing your glasses.
Companion App login changes
(Updated as of 4/10/2025)
If you had an Aria test account before 4/10/2025, you previously used your alias to log in. Starting from Companion App version 210, you will use an email to log in: the email is simply your alias + “@tfbnw.net”. For example, if your alias was projectaria123, you’ll enter projectaria123@tfbnw.net as your email.
These changes to login credentials only apply to the Companion App. Aria Studio and the MPS CLI are not affected.
- Open the Companion App.
- Select Log in with Meta.
- Select Continue to sign in using meta.com.
- Select Log into another account.
- Select Continue with email.
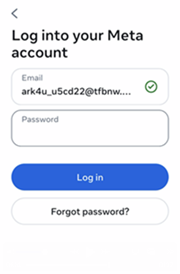
- Enter your @tfbnw.net email (as discussed above), then select Next to continue.
- Enter the password, then select Log in.
- In the new window, select Continue as.
Set Default Recording Profile
The default recording profile determines determines which recording profile the New Recordings page starts with, as well as the profile used when initiating recording via the capture button.
In the Mobile Companion App, you can change the Default Recording Profile at any time via Device Settings.
To view Device Settings
Tap the Paired Glasses info card.

Update OS
Your Aria glasses's OS will also automatically update when plugged into power and connected to Wi-Fi with an internet connection.
To manually update Aria glasses OS:
- In the Mobile Companion App, select Device Settings
- Scroll down to view your Aria Device's OS Version
- Select Check for Updates
- Once your glasses have finished updating, they will reboot and the update will be complete.
Recording
To start recording
- Select New Recording Session on the Aria Dashboard.
- You have the option to configure your recording session before it begins:
- Name (optional): This will define the name of your VRS file. If you do not provide a name a random alphanumeric name will be given
- Notes (optional): Notes are appended to your recordings ID. You can input a short or long text string in this field. Notes is a value that is provided in the vrs.json file associated with your recording.
- Sensors Used: Select Sensors Used to see details of the recording profile. From the Sensors Used menu, select Profile to choose different recording profiles to record with.
- If you’ve selected a default recording profile, that profile will be automatically populated, otherwise you will need to select a recording profile.
- Select Begin new recording
- While you're recording the Sensor Status field will let you know if there are any data quality issues
- Perform in-session Eye Gaze Calibration (optional)
- You only need to do this if you want Eye Gaze MPS with personalized data
- Go To Eye Gaze Calibration for more information
- End your recording by selecting Complete Recording in the app or use the capture button on the top right side of the glasses
Once you've completed a recording, you'll return to the New Recording screen, pre-populated with your previous details.
For information about the different recording profiles available, and how to create a custom recording profile, go to (Recording Profiles)[/tech_spec/recording_profiles.mdx].
Mobile Companion App Screens
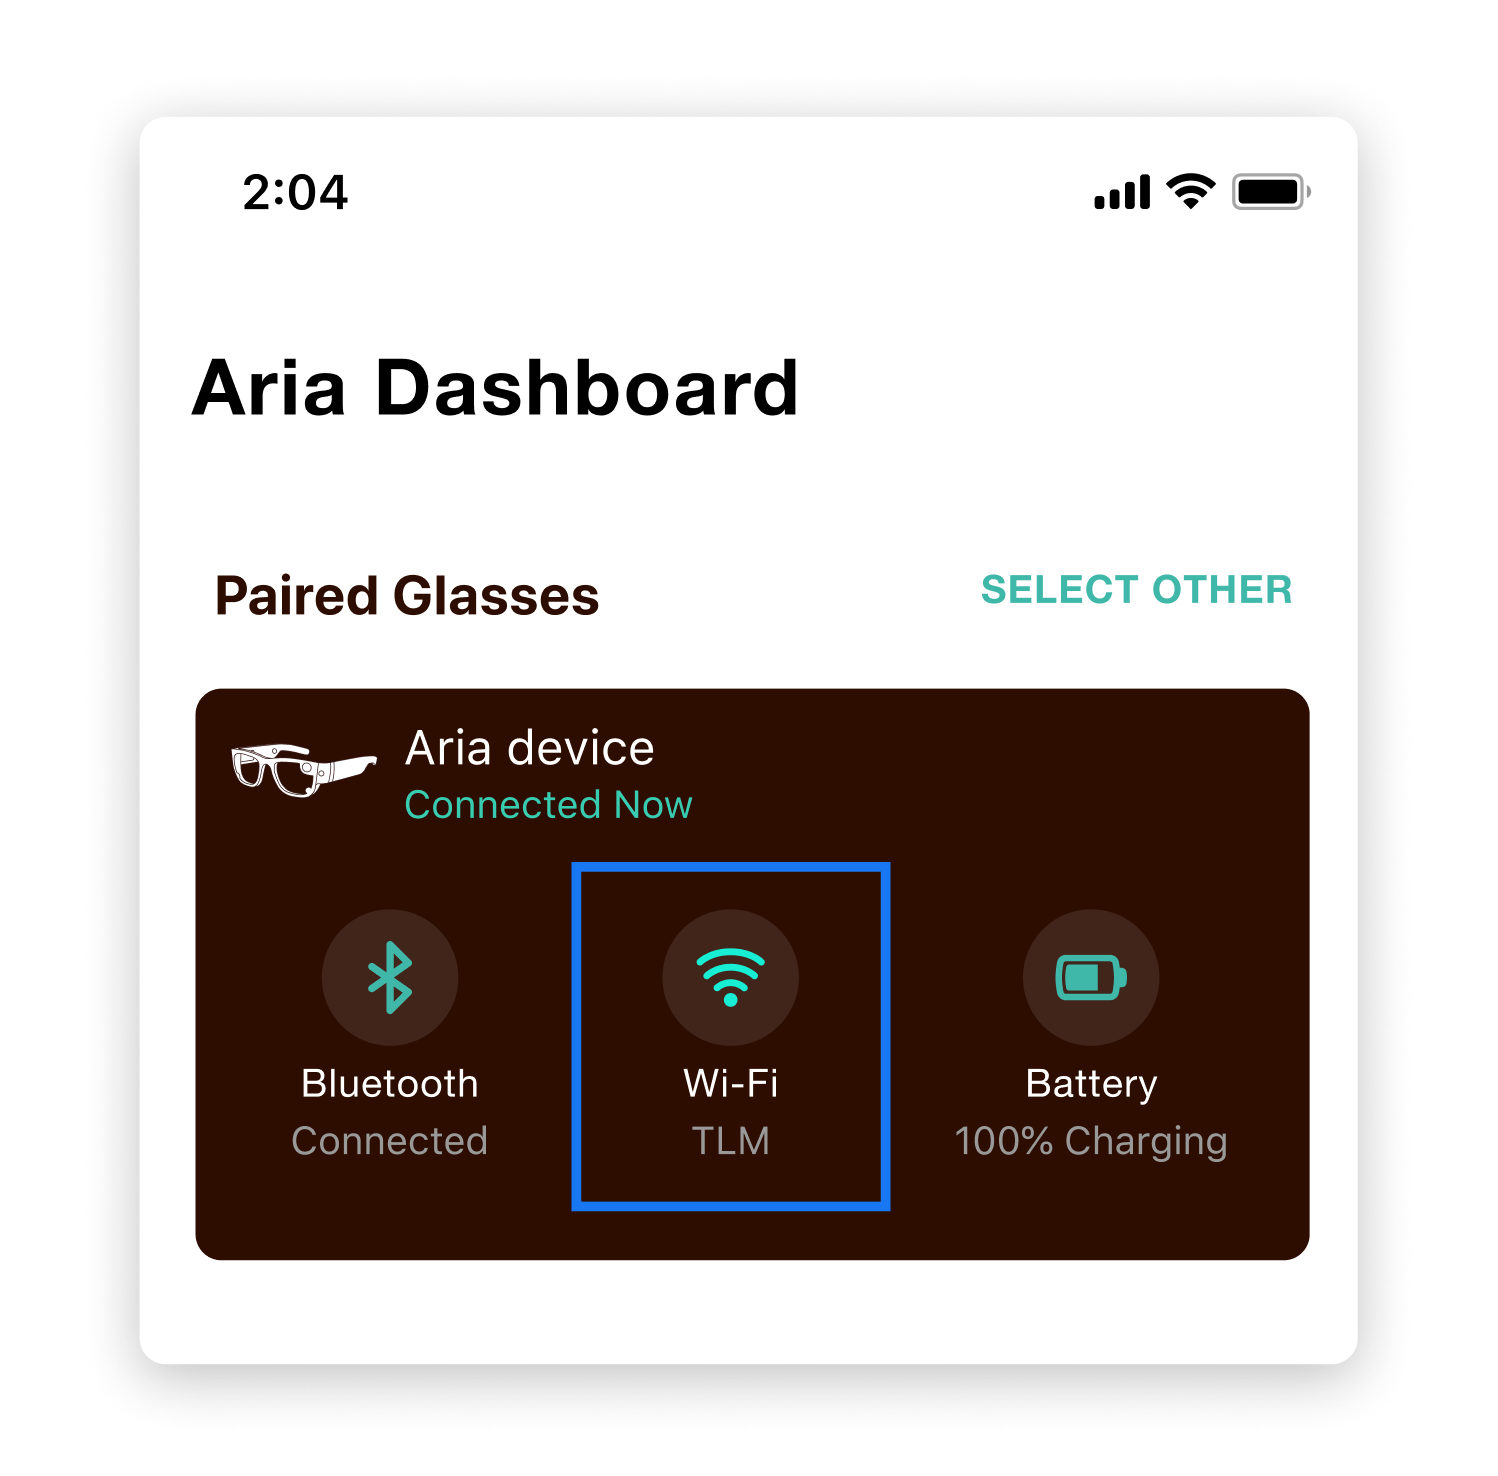
Dashboard
The Aria Dashboard has several interactive elements:
- Tap New Recording Session to make a recording
- Tap Add to pair additional devices with your Aria glasses
- One account can have multiple Aria glasses associated it, but each pair of glasses can only be associated with one account
- Multiple glasses can be paired, but only one pair of glasses can be connected at a time
- Tap Switch to toggle between multiple paired Aria glasses or pair with new glasses
- This will replace Add if more than one set of glasses is paired
- Tap the glasses info card to go to Device Settings
- Tap the Bluetooth icon to disconnect your glasses
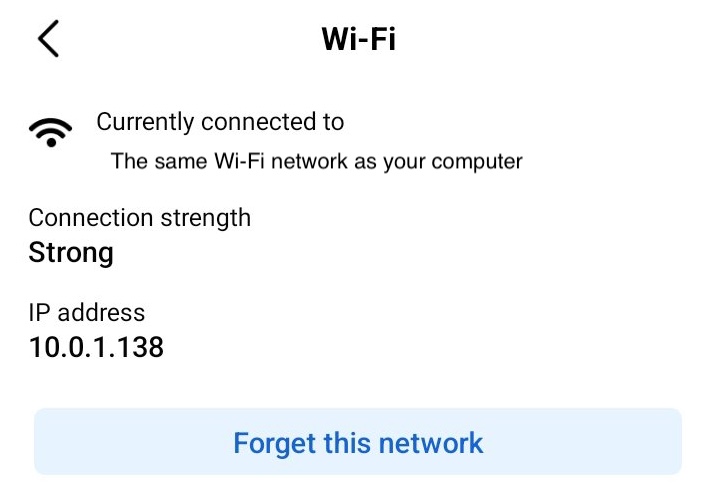
- Tap the Wi-Fi icon to connect to different Wi-Fi network, forget a network or see the glasses' IP address
Aria Device Settings
Device Settings can be accessed by tapping the Paired Glasses info card on the main dashboard.
The Device Settings page includes:
- Bluetooth, Wi-Fi, Battery, GPS and Temperature status
- OS version and ability to check for OS updates
- Remaining storage space
- MAC Address
- Serial number
- Device ID
- Check Device Mode (it should say Partner)
- Change the default recording profile
Recordings menu
In the Recordings menu, you'll be able to see recordings that are currently on your Aria glasses.
Select a recording in the Recording menu to edit your recording's name and notes (notes will be stored in the vrs.json file) and see a range of details including:
- Recording duration
- Recording profile used
- Up to 10 thumbnail images from your recording
If you have not given your recording a name (such as when you initiate recording via the capture button) the VRS file will have a random alphanumeric name when it is downloaded.
To name or edit the name of a VRS recording on your glasses:
- Go to the recordings tab of the Mobile app
- Select a recording
- Select Edit on the top right corner
Profile menu
The Profile menu shows the settings and profile information for the Mobile Companion app, not your Aria glasses. You'll be able to see the App version, for example, but not the Aria glasses' OS.
The Advanced Settings menu includes Clear Local Data. This can be helpful if you encounter issues that restarting your Mobile App does not resolve. Aria recordings are stored on the glasses, not on the phone, so clearing local data will not delete any of your recordings.