Video Preview
Description
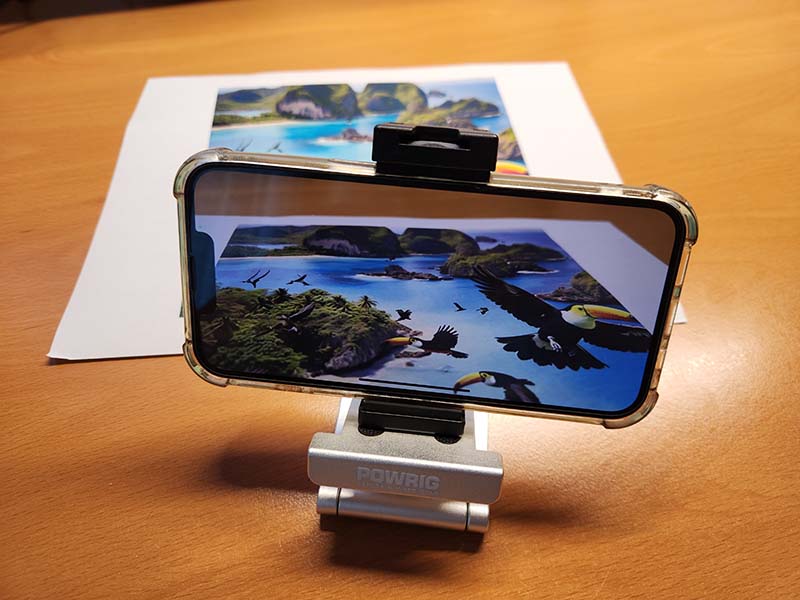
This app provides a simple example of how to access a camera and how to visualize the image on different platforms.
In Ocean, any image-based media is handled by the library ocean_media. It is a collection of abstract classes that allow for the processing and querying of inputs like live video streams, image sequences, video files, and more. Platform-specific implementations can be found in the sub-directories of ocean_media. For example, for iOS and macOS, this would be handled by ocean_media_avfoundation, which interacts with AVFoundation; for Android, there is ocean_media_android, which is a frontend to the Android NDK, and so forth. When an application starts, it will need to register those libraries that it supports (and when the application stops, all registered libraries will have to be unregistered again, in reverse order). This mechanism is similar to the loading and unloading of plugins and allows for platform-independent querying of features as will be explained below.
In the case of live videos from cameras, the video sources are represented by FrameMedium. This is a wrapper for a variety of platform-dependent video sources. Querying a camera that provides a live stream can be achieved as follows:
Media::FrameMediumRef medium = Media::Manager::get().newMedium("LiveVideoId:1");

if (medium.isNull())
{
  // if we could not get the device with id 1 we try to get the device with id 0
  medium = Media::Manager::get().newMedium("LiveVideoId:0");
}
Here, the identifier LiveVideoId:1 (and LiveVideoId:0) will be passed to the registered, platform-specific media libraries. If a library can discover cameras on the system, it will provide them (in the order chosen by the operating system) using the identifiers LiveVideoId:X. On a laptop, the camera with the ID :0 usually (but not always, for example on Macs) refers to the built-in camera, while the camera with the ID :1 typically refers to the first external camera, and so forth.
The demo app is available for both desktop and mobile devices. The code is located here. Please note the various platform-specific subfolders which contain the generally required boilerplate code. Build instructions can be found below.
Building
- Android
- iOS
- macOS
Ensure the third-party libraries have been built for Android for all of the required Android ABIs. Let's assume the base location for third-party libraries is ${HOME}/install_ocean_thirdparty, i.e., the Android versions will be located in ${HOME}/install_ocean_thirdparty/android_${ANDROID_ABI}....
# Define this so that Gradle (and CMake) can find the third-party libraries.
export OCEAN_THIRDPARTY_PATH="${HOME}/install_ocean_thirdparty"

# Change into the directory with the Gradle config of this project
cd /path/to/ocean/build/gradle/application/ocean/demo/media/videopreview/android

# In ./app/build.gradle.kts, ensure that only those Android ABIs are enabled for which the corresponding third-party libraries have been built. Otherwise, your build will fail, cf. the [general build instructions](https://github.com/facebookresearch/ocean/blob/v1.0.0/building_for_android.md#4-building-the-ocean-android-demotest-apps).

# Build the debug and release APK of this
./gradlew assemble

# Install the desired APK
adb install app/build/outputs/apk/debug/app-debug.apk
adb install app/build/outputs/apk/release/app-release.apk
By default, the log output will be displayed on the screen of the phone as well as in the Android logs, which can be displayed using:
adb logcat -s Ocean
Ensure the third-party libraries have been built for iOS. Then follow the general setup for building iOS apps using XCode. Once the generation of the XCode project is complete, open it and search for application_ocean_demo_media_videopreview_ios in the scheme at the top. Then hit CMD-R to build, install, and run the app and follow the instructions.
Ensure the third-party libraries have been built for macOS. Then follow the instructions to build the Ocean code base. Let's assume you're building Ocean with the release build config:
cd /path/to/ocean

# Build the third-party libraries
python build/python/build_ocean_3rdparty.py --config release

# Build and install Ocean
python build/python/build_ocean.py --third-party-layout python --config release

# Execute the demo app (a bundle)
open ocean_install/macos_arm64_static_release/bin/application_ocean_demo_media_videopreview_macos.app
Alternatively, generate a XCode project for Ocean and search for application_ocean_demo_media_videopreview_macos in the schemes at the top. Then hit CMD-R to build and run the app.