Console
Description
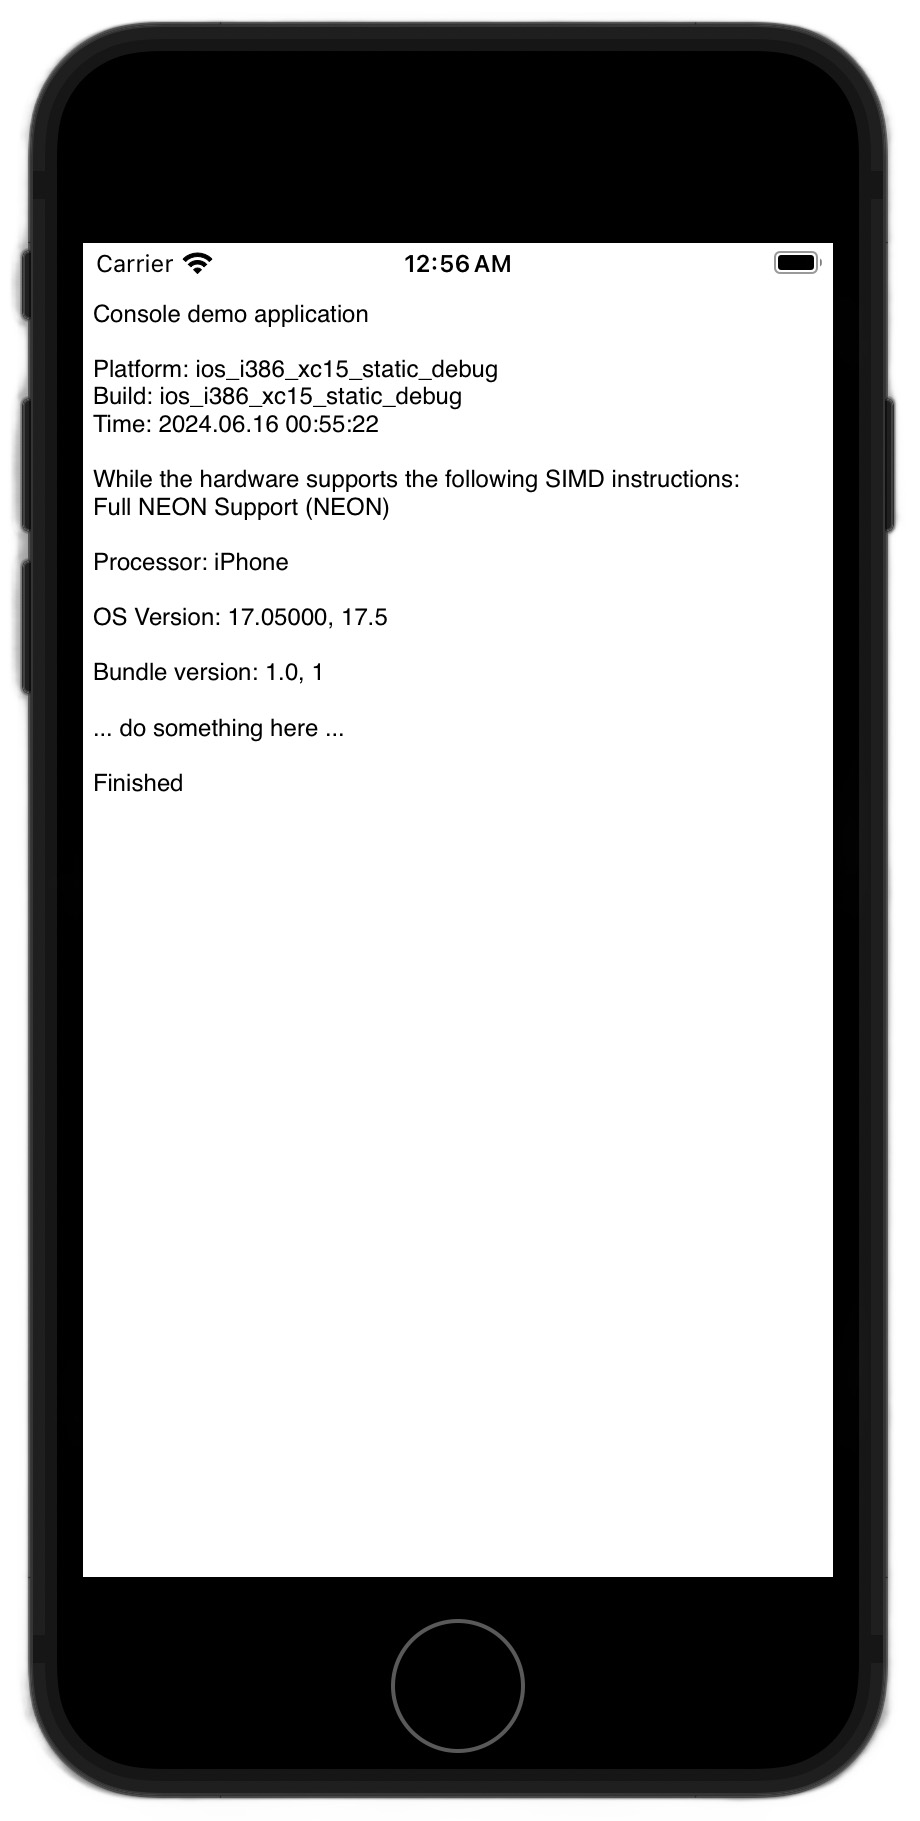
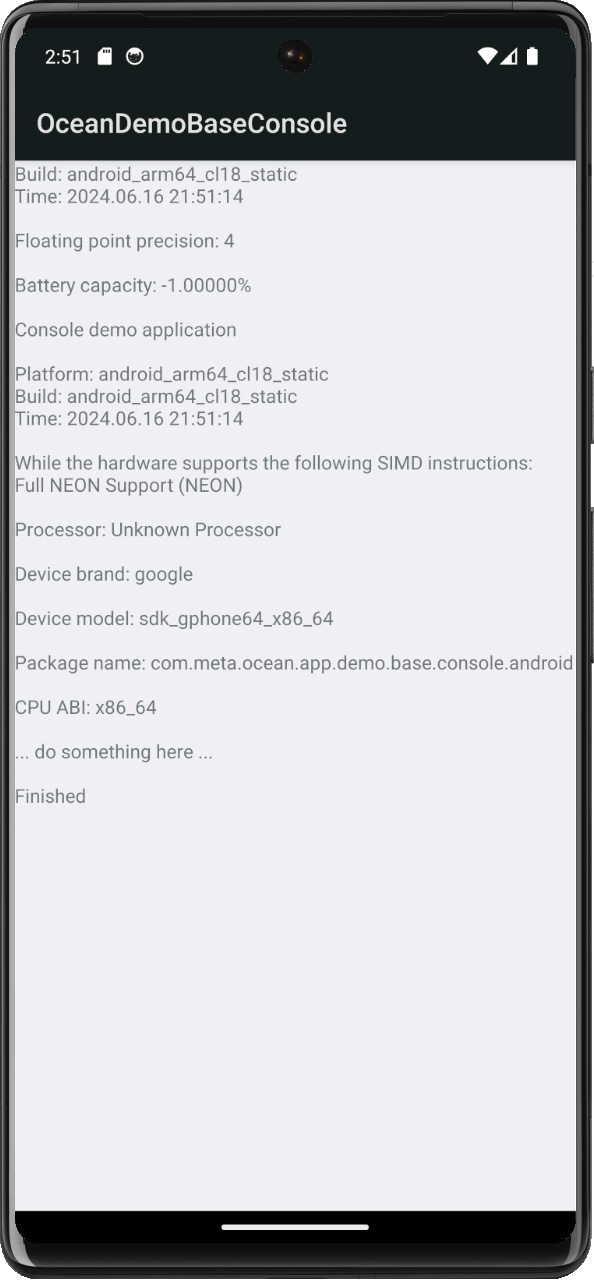
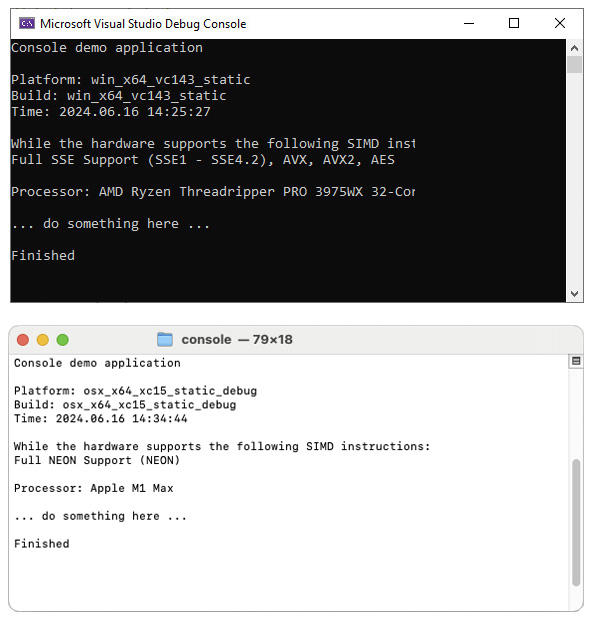
This demo app offers a basic example of setting up simple console applications using Ocean, designed to operate across multiple platforms. In this context, "console" refers to the absence of complex UI elements, focusing instead on displaying Ocean's log messages.


The app is available on all platforms and represents Ocean's simplest demonstration application. Despite its simplicity, it serves as an excellent starting point for quick debugging and prototyping.
The code for desktop platforms can be found in Console.cpp. Platform-dependent code is located in sub-directories that match the name of the corresponding platform.
Building
- Windows
- Linux
- macOS
- iOS
- Android
This is Windows.
Ensure the third-party libraries have been built. Then follow the instructions to build the Ocean code base. Let's assume you're building Ocean with the release build config:
cd /path/to/ocean

# Build the third-party libraries
./build/cmake/build_thirdparty_linuxunix.sh -c release -l static -b "${HOME}/build_ocean_thirdparty" -i "${HOME}/install_ocean_thirdparty"

# Build and install Ocean
./build/cmake/build_ocean.sh -c release -l static -b "${HOME}/build_ocean" -i "${HOME}/install_ocean" -t "${HOME}/install_ocean_thirdparty"

# Execute the demo app
cd ${HOME}/install_ocean/linux/x64_static_release/bin
./application_ocean_demo_base_console
Ensure the third-party libraries have been built for macOS. Then follow the instructions to build the Ocean code base. Let's assume you're building Ocean with the release build config:
cd /path/to/ocean

# Build the third-party libraries
./build/cmake/build_thirdparty_linuxunix.sh -c release -l static -b "${HOME}/build_ocean_thirdparty" -i "${HOME}/install_ocean_thirdparty"

# Build and install Ocean
./build/cmake/build_ocean.sh -c release -l static -b "${HOME}/build_ocean" -i "${HOME}/install_ocean" -t "${HOME}/install_ocean_thirdparty"

# Execute the demo app
cd ${HOME}/install_ocean/macos/arm64_static_release/bin
./application_ocean_demo_base_console
Alternatively, generate a XCode project for Ocean and search for application_ocean_demo_base_console in the schemes at the top. Then hit CMD-R to build and run the app.
Ensure the third-party libraries have been built for iOS. Then follow the general setup for building iOS apps using XCode. Once the generation of the XCode project is complete, open it and search for application_ocean_demo_base_console_ios in the scheme at the top. Then hit CMD-R to build, install, and run the app and follow the instructions.
Ensure the third-party libraries have been built for Android for all of the required Android ABIs. Let's assume the base location for third-party libraries is ${HOME}/install_ocean_thirdparty, i.e., the Android versions will be located in ${HOME}/install_ocean_thirdparty/android_${ANDROID_ABI}....
# Define this so that Gradle (and CMake) can find the third-party libraries.
export OCEAN_THIRDPARTY_PATH="${HOME}/install_ocean_thirdparty"

# Change into the directory with the Gradle config of this project
cd /path/to/ocean/build/gradle/application/ocean/demo/base/console/android

# In ./app/build.gradle.kts, ensure that only those Android ABIs are enabled for which the corresponding third-party libraries have been built. Otherwise, your build will fail, cf. the [general build instructions](https://github.com/facebookresearch/ocean/blob/v1.0.0/building_for_android.md#4-building-the-ocean-android-demotest-apps).

# Build the debug and release APK of this
./gradlew assemble

# Install the desired APK
adb install app/build/outputs/apk/debug/app-debug.apk
adb install app/build/outputs/apk/release/app-release.apk
By default, the log output will be displayed on the screen of the phone as well as in the Android logs, which can be displayed using:
adb logcat -s Ocean
The logging behavior can be changed in application/ocean/demo/base/console/android/DemoConsoleActivity.java.